...don't worry, no peppermint candy topping on these
What You Need:
2 Egg Whites
100g Golden Caster Sugar
Decoration:
Peppermint Candy Cane
Red Food Colouring
Meringues are really, so much easier to make than I thought they would be. The ingredients - easy and the method, very easy. What takes the time is the drying out. To start, separate two eggs and keep your egg whites in a mixing bowl. Whisk [by hand or machine] the egg whites until they form peaks:

...then add the golden caster sugar. I used golden caster sugar as it gives the meringue a glossy finish [but you can use caster sugar if that is what you have to hand]

whisk until stiff peaks are formed [and do the 'over the head' party trick if you want to prove to
yourself they are ready!] You could also add any flavouring or food colouring if you wanted:

I then used a piping bag and Wilton 'Star' nozzle to form my mini meringues:

The technique is very simple, on a lined baking tray, create a 50p size base and then moving the nozzle in a circular motion to gain height and pulling away at the top to form a peak:

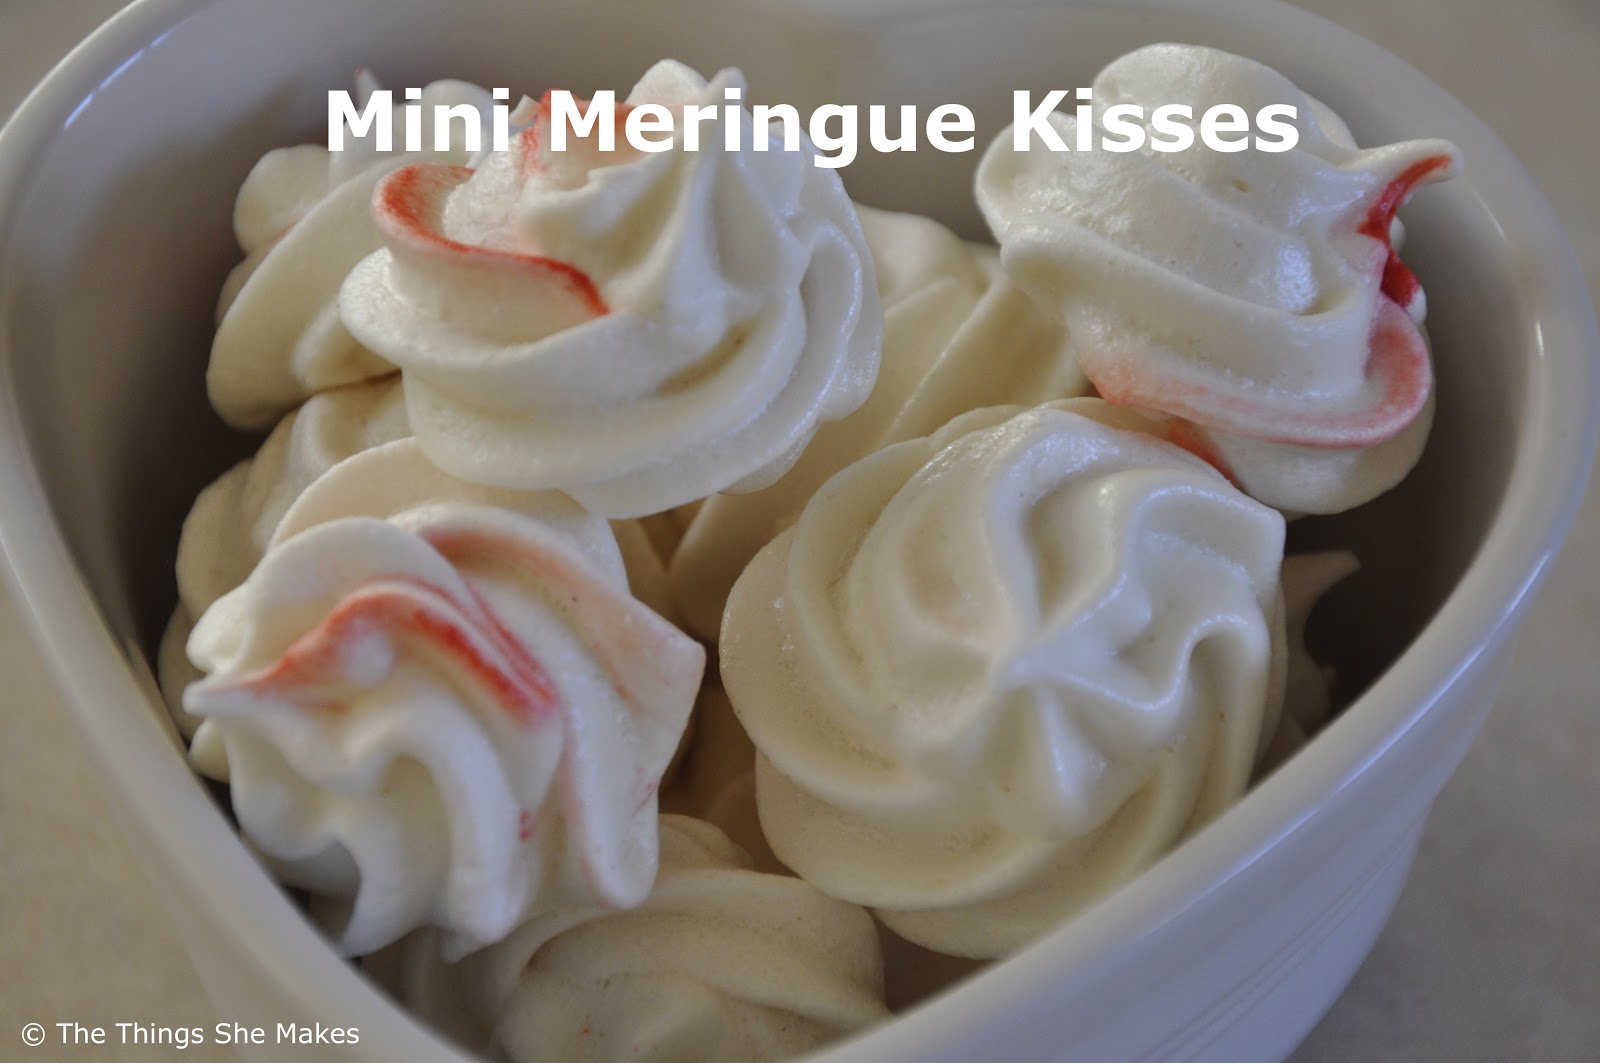
I then also wanted to try out adding some food colouring to create two-tone meringues.

Using a skewer, I dipped the bottom into my food colouring:

...and then lined the crease of the piping bag with the colour:

...filling the piping bag, I then created a few colourful meringue kisses:

...what?! How did this get here?!


OK, so, I added some candy cane to 6 of the meringues - just to see!
The really important things to remember when making these meringues is that they are not being baked, but dried out. I popped my trays into an oven at 80 degrees C. I will admit, I didn't trust that the oven wouldn't bake them, so didn't leave them for more than 30 minutes at a time and alternated between 80 degrees and the 'cool fan' setting for around 3hours to make sure they had no chance of browning:


You will know that thy are ready when the bottoms lift from the baking paper easily.
Removing from the oven, I then set them aside for around another hour to completely cool and dry until later in the evening, when they disappeared rather quickly!


These are perfect to add to desserts [eton mess, ice cream] as well as eating or their own or popping in a jar, tying with ribbon and giving as a gift. Perfect for whipping up in the morning, forgetting about [if you trust your oven] and if you pop them in a airtight container, they'll keep for a few days too [but I bet they wont last that long!]
No comments
Post a Comment