Wednesday 30 October 2013

Halloween Specimen Jelly Jars


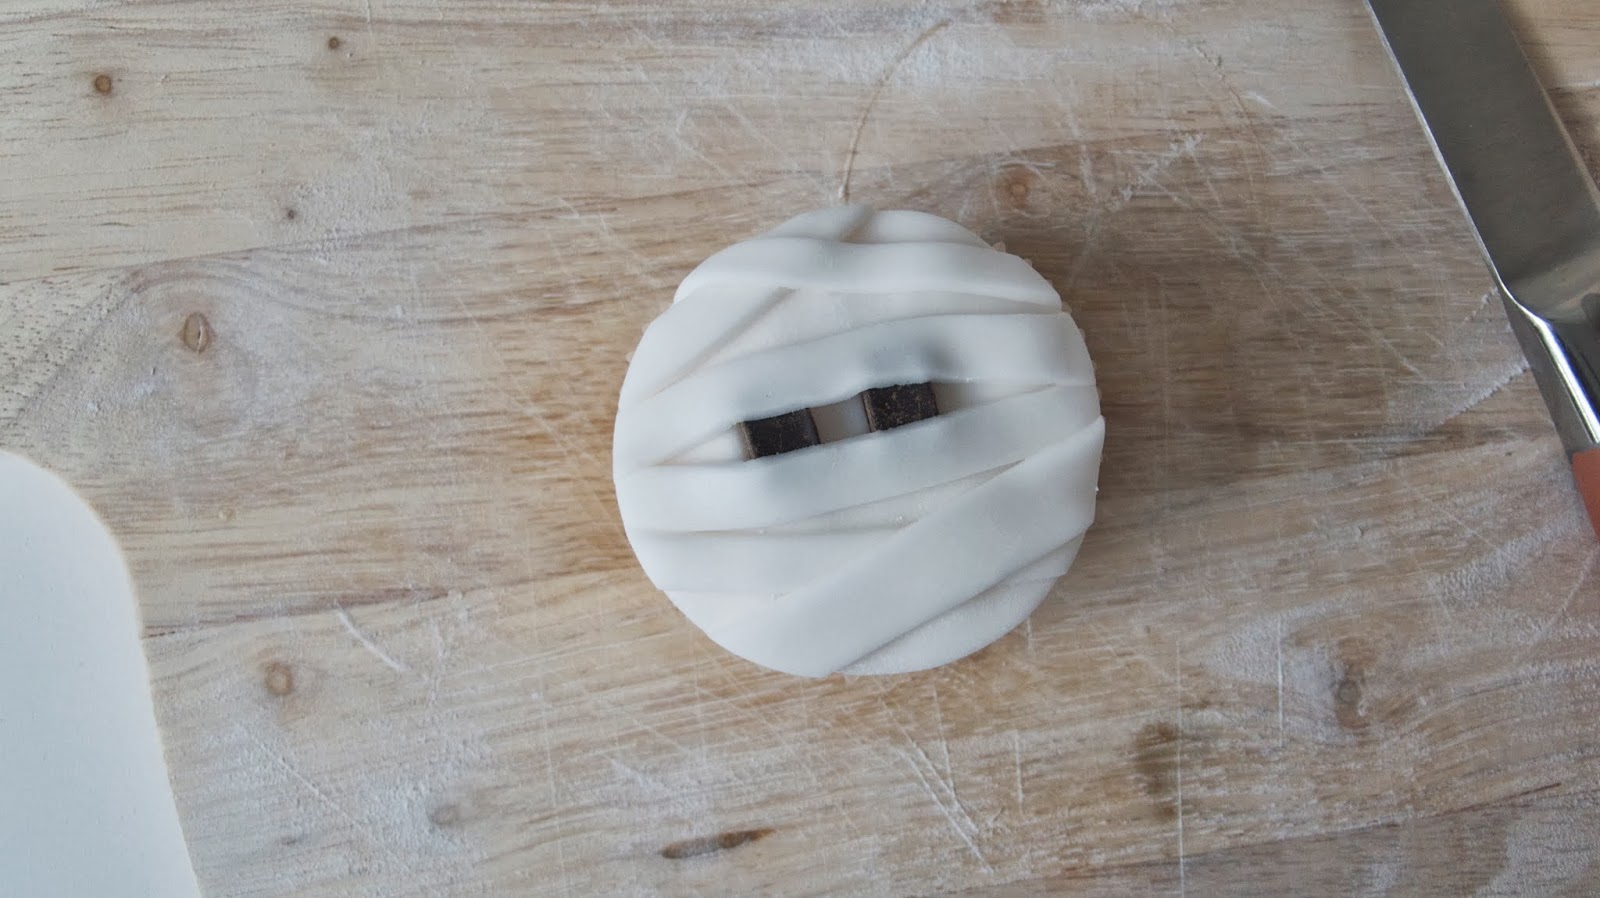
Clotted Jelly and unidentifiable chocolate? Dessert is served.
These are quick and easy if you forgot that tomorrow is Halloween and need a last-minute 
something-or-other.
I created two different flavours of jelly to create two-tones and a more blood-like colour. Bit weird.
Mash the jelly up to create a more 'clotted' effect and transfer in to either glass or plastic 
jars/tumblers, and whilst you are transferring the jelly, add halloween-themed and shaped sweets 
and treats [I used the same 'brain' chocolates as this post] as your 'specimens'.  Jelly teeth, 
chocolate eyeballs and spiders, a bit like last year, all work brilliantly.
To create a more 'specimen jar' effect, I created and added cataloguing labels:
If you fancy making your own specimen jars, you can save to and print out from your computer 
 the template below.  You can add your own descriptions, year of discovery, location of where the specimen was found and any other markings:


see you next time x
Share:

Halloween Ghost and Mummy Cupcakes

A quick and easy, simple last-minute foodie treat - you have come to the right place.

Here are the no-need-for instructions and photos, but you're getting them anyway. Simple as you like.

Ghost Cupcakes
  • You will need a cupcake, either home-made or *cough* pre-made *cough* shop-bought *cough*.
  • Take it out of the packaging and turn upside down, placing a scoopful of butter icing on the top.
  • Roll out a thin [the thinner, the better] of fondant icing and use a large cookie cutter [mine was around 37/8 inch - 98mm] to create a neat, round ghostly cover.
  • Drape over the cupcake, moulding a few folds around the base.
  • Create two eyes by dipping the end of a cocktail stick into black food colouring and marking at the top of the ghostly shape. 


Mummy Cupcakes
  • Cupcake.
  • Line the top with a thin [or thick, depending on your taste] layer of buttercream.
  • Roll out a thin of fondant icing and use a cookie cutter as close to the size of your cupcake as you can to create a neat, round head [mine was a 21/4 inch - 58mm cutter].
  • Add two chocolate drops to the middle for eyes.
  • Cut long thin straight lines of fondant icing, add a little water to the undersides  and begin to layer these over the top of the head, enclosing the top and bottom of the chocolate drop eyes.
  • Use the same cookie cutter used to create the head to trim the edges neatly.
  • Place on top
If you have time, core each cupcake and either fill with jam or something gory looking, the more liquid, the better.
see you next time x
Share:

Tuesday 29 October 2013

Halloween Bat Wreath

I had a polystyrene round, some grey wool, a piece of black card and Strictly to watch.
This is what I made.

What I Used:
Polystyrene Wreath
Black Card
Grey Wool
Washi Tape
Pins / Scissors

This is a really simple and easy decoration to make, with a base that I can re-use once I give in to Winter and easily removable decorations that can be replaced for the next Holiday season [don't worry, not saying the word just yet].  I've not made a wreath for Halloween before, but I fancied something for the door that could be made with a few things I already had and that would keep me company during some Saturday night television.  If you are after a quick decoration for your home, or something that the kids could also easily make, here's an idea for your front door.

To start, I wrapped my wreath round in grey wool:
 
I've used this polystyrene round multiple times - I don't glue anything directly to it so that I can change it whenever I grow bored, so if you have one too and are a little wary of the un-envrironmentally aspects of it - try not to glue directly to it and then it should last you for years and years and years.
Once complete, I created a quick and easy bat template, folding a piece of white paper, drawing an ear, wing and body, cutting out and creating a symmetrical template which I traced on to my black card:
Cutting out 6 bats, I then fixed these to the wool and wreath with pins as eyes:
...and made a silver washi tape bunting centre decoration to finish the wreath:

...with a final addition of a hanging and I'm ready for Halloween.
see you next time x
[this will be tomorrow, as I have a few more Halloween ideas to post x].
Share:

Monday 28 October 2013

Sunday Short: Mummified Glasses

Easy-peasy Treat holders.

What I Used:
Glass Tumblers/Jars [any size]
Tissues
White/Cream Wool
Black stickers / paper

Using a similar technique to the pumpkin candles, I created two black sticker eyes in the middle of the tumblers.  [If you have vibrant green sweets, such as jelly beans, you could leave the tumblers as they are for an alien-like effect]:
To create the mummy effect, I started by placing the tissue paper at the bottom of the tumbler, holding in place with one finger and wrapping in twists around the top to bottom, twisting the paper and varying the thickness of each round:
You don't have to be uniform in the way you do this, the more random the directions, thicknesses and overlaps, the better.  To add a further effect, I also wrapped cream wool over the top for a different texture and detail.  Crepe paper, tissue paper or white paper will work just as well - as long as you can wrap it around the glass and fold and layer the rounds.
No glue, so these are easy to turn back to your regular tumbles in November.  Finally, I added brain sweets to the tops.  As you do.
FYI - the brain chocolates are from Sainsburys and are filled with a strawberry mousse-like centre.  Blimmin' gorgeous. for brains.
If you have a large bowl that you are filling with sweets, this would be even more awesome
on a larger scale.  If you do it, please, please show me - I would love to see.
I made these spiderweb placemats using the same techniques as a Sunday Short
from a few weeks ago:
see you next time x
Share:
© The Things She Makes | All rights reserved.
Blog Design Handcrafted by pipdig